This document aims to guide the process of creating a sub-seller, which functions as a sub-login to grant another team member access to the sales panel. This access can be configured with limited or full permissions, depending on your team’s needs.
Step-by-Step to Create a Sub-seller #
In the seller panel, locate and click on the “Associated Sub-sellers” tab.
Click the green “New Sub-seller” button, located in the upper right corner of the screen.
Filling in the Information: #
- Enter the email of the team member who will be the sub-seller.
- Add a personalized message that they will receive via email.

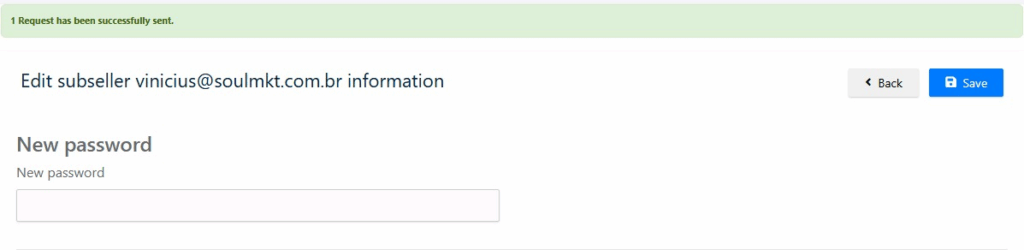
After sending the invitation, a message will confirm that your request was successfully sent, along with a field to set a new password.
Assigning Resources to Sub-sellers: #
Allows granting specific permissions, meaning the administrator can define which features, products, categories, or settings each sub-seller can access and manage.
Accepting the Invitation: #
- The team member will receive an email with an invitation to become a sub-seller. This email will include an “Accept” button that will redirect them to a registration page.

Permission Management: #
After registration, the sub-seller will appear in the list of associates. The main seller can:
- Customize permissions: Block or grant access to specific features, such as APIs or shipping methods.
- Change the password: If the sub-seller forgets their password, it can be reset.
- Approve, disapprove, or delete: Manage the sub-seller’s status at any time.
Important
- Access URL: The sub-seller will use the same login URL as the main seller’s panel.
- Access Management: If a sub-seller is disapproved or deleted, they will automatically lose access to the platform.
If you have any difficulties or questions, don’t hesitate to contact our support team. We are always available to help!