In this documentation, you will learn how to create a discount rule using coupons, along with examples of the main rules that can be created. Keep in mind that this functionality is flexible, allowing you to set up a wide range of discount rules.
Accessing the Dashboard #
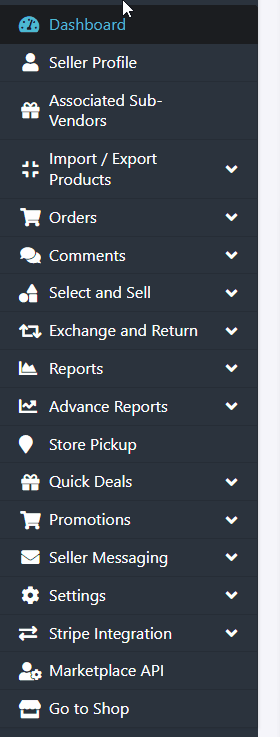
The first step is to access your reseller dashboard. Once logged in, navigate to the sidebar menu and click on the “Promotions” option.
In the submenu that appears, click on “Cart Promotions”
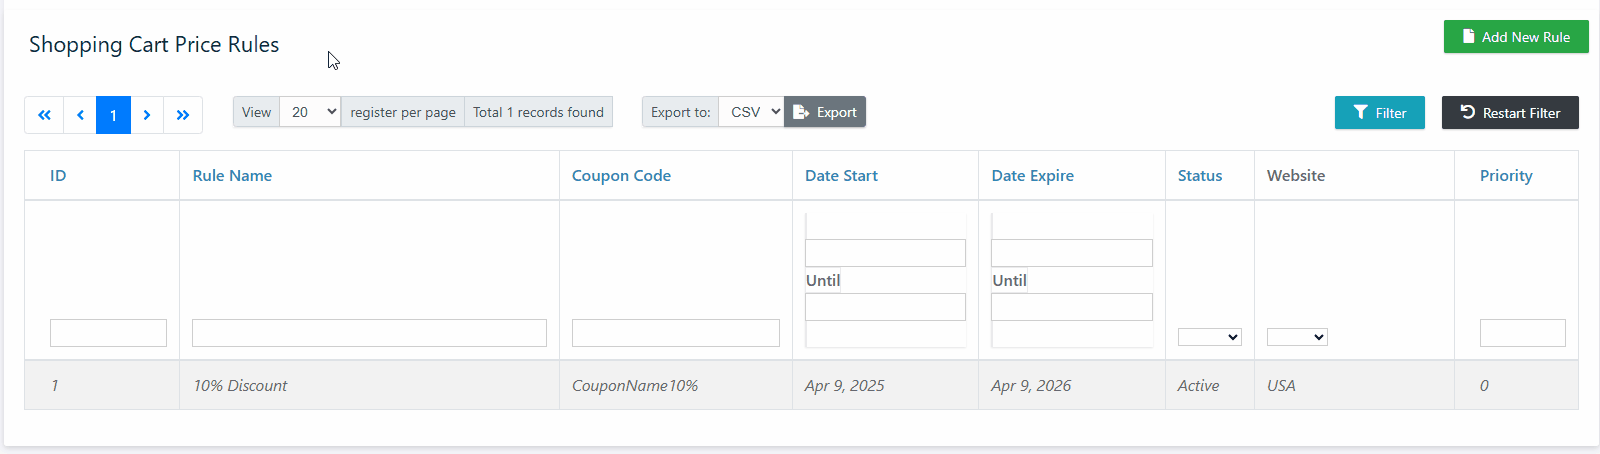
On the page that loads, you will be able to view all the rules once they are created.
To create a new rule, click the “Create Rule” button located in the upper right corner.
Rule Information #
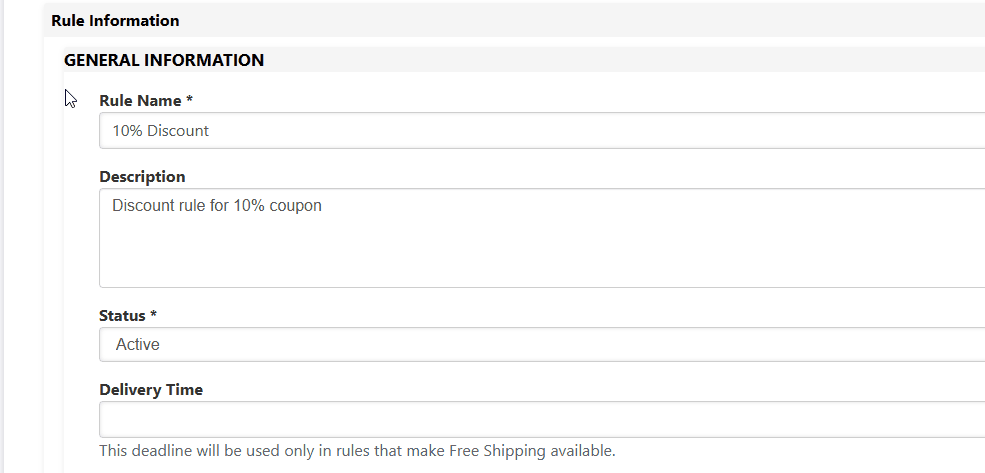
In the first configuration section called “Rule Information,” fill in the name you want to give the rule, a description (optional) for future reference, and the rule’s status. To ensure the rule is active, leave the status as Enabled. If you want to deactivate it, set the status to Disabled.
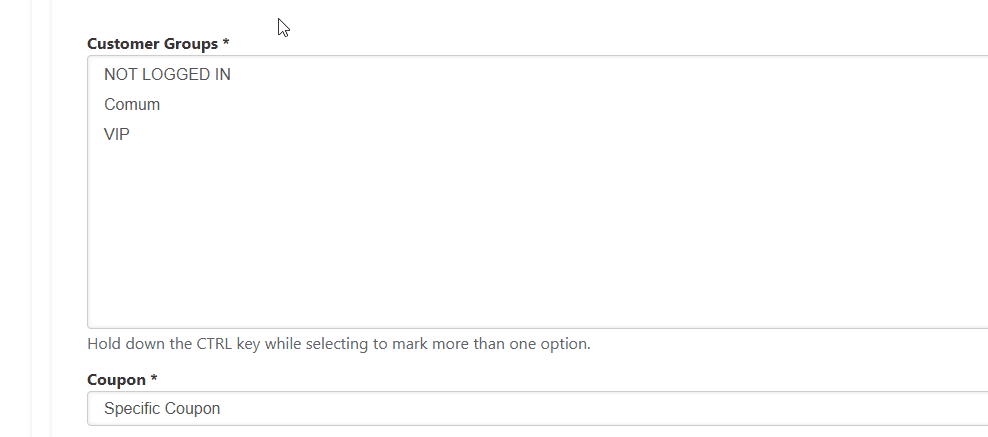
In the “Customer Group” field, select which customer groups the rule should apply to. (Again, contact the Marketplace admin if you’re unsure about this.)
In the “Coupon” field, select “Specific Coupon.” With this option selected, the rule will only apply if the customer enters the correct coupon code. After selecting this option, a new field named “Coupon Code” will appear. Enter the code that customers will need to apply in order for the discount to be activated.
For example, if the coupon offers a 10% discount, an ideal coupon name could be CouponName10%.
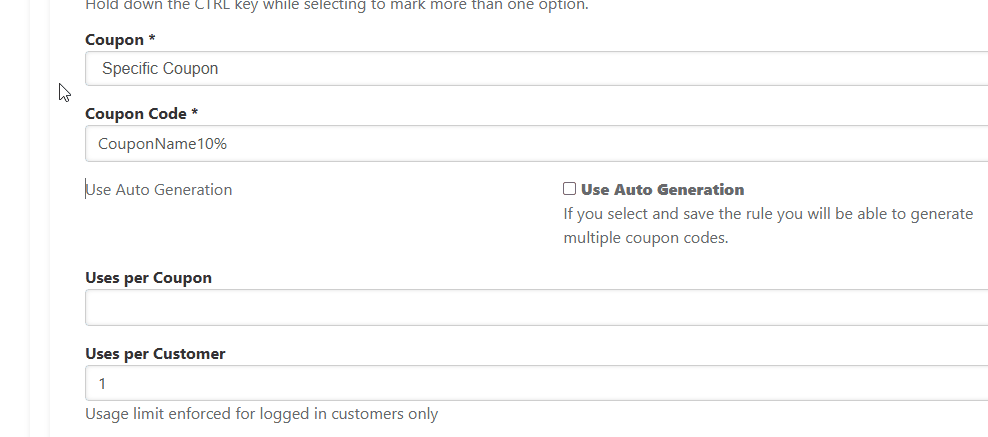
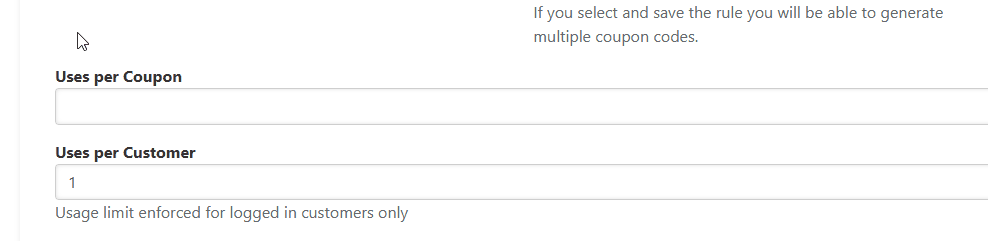
In the “Uses per Coupon” field, enter how many times the coupon can be used in total. Leave it blank for unlimited usage during the promotion period.
In the “Uses per Customer” field, set how many times each customer can use the coupon. If you want the coupon to be valid for only one purchase per customer (e.g., per CPF), enter 1. To allow unlimited use by the same customer, leave this field blank.
In the “From Date” and “To Date” fields, define the validity period of the discount coupon. For example, if you want the coupon to be valid from April 9, 2025, to April 9, 2026, enter the start date of the coupon— 04/09/2025—in the “From Date” field. In the “To Date” field, enter the end date of the coupon—04/09/2026.

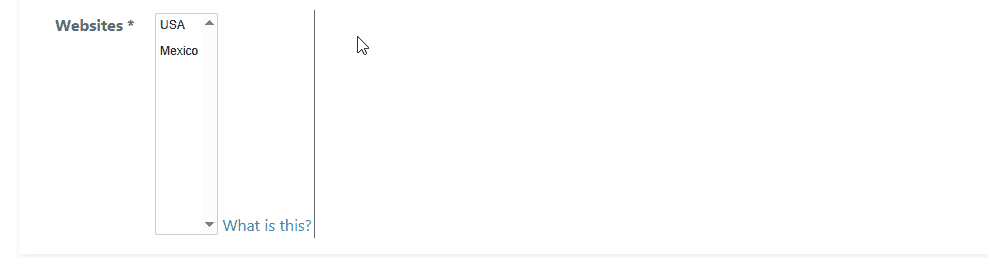
In the “Website” field, be sure to select the store view where you want the rule to apply. (If you have questions about store views, contact the Marketplace administrator.)
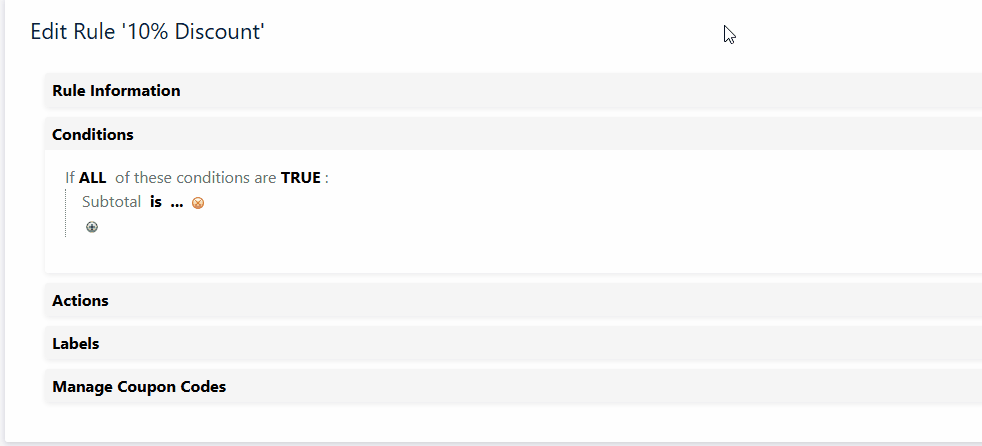
Conditions #
In the Conditions settings, you can define specific conditions for when the rule should (or should not) apply.
For example, you can set a rule to only apply if the cart subtotal is equal to or greater than $60.00, or to apply only while the total is less than $1,100.00. You can create several conditions, covering aspects like subtotal, payment method, or shipping method. For discount coupons, conditions are usually based on the cart’s total value.
To set up a condition, first choose whether the rule should apply when ALL conditions are met or when ANY condition is met.
For instance:
- If the coupon should only apply when the product price is over $60.00 and the SKU is X, and you choose ALL, the rule will only apply if both conditions are true.
- If you choose ANY, the rule will apply if either the price is over $60.00 or the SKU is X.
Next, define the actual condition. To apply the coupon only when the cart total is greater than $60.00, choose “Subtotal” as the condition, then select “equals or greater than” and enter 60.00.
Actions #
In the Actions configuration, you determine how the discount will be applied. Here you can decide if the discount should be a fixed amount, a percentage off the cart, or whether it applies to all products or just the cart subtotal.
Examples:
To offer a 10% discount, configure the rule as a percentage off the cart.
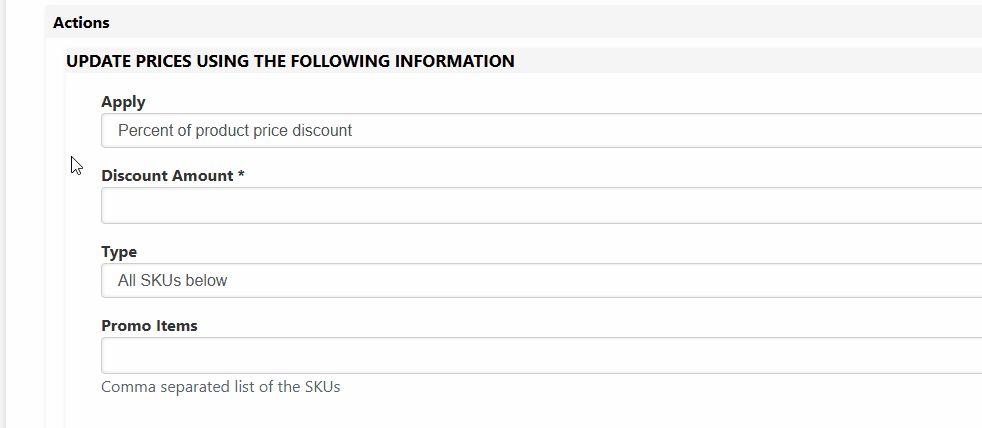
To offer a $10.00 discount, configure it as a fixed amount discount.
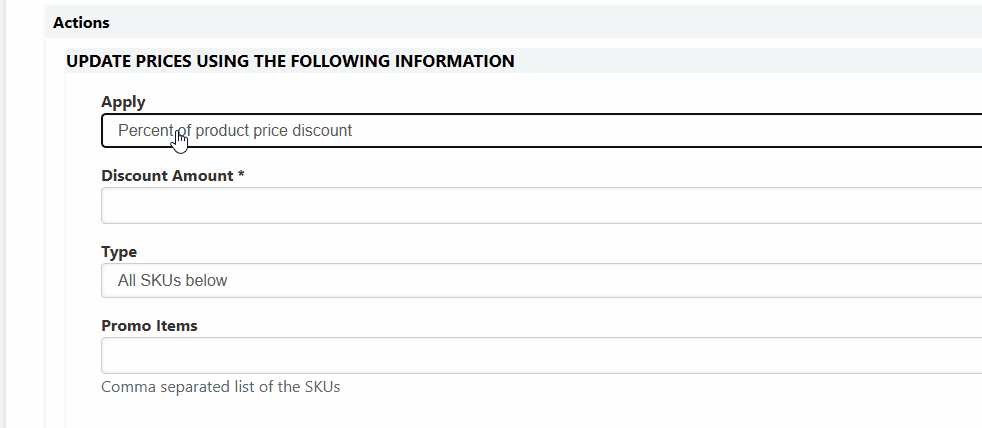
You can change the discount value as needed. These are just sample setups to guide you!
Additionally, you can set up filters to apply the coupon only to specific products. You can filter by product attributes, specific SKUs, or categories.
Example: Apply the coupon only to products in Category 2.

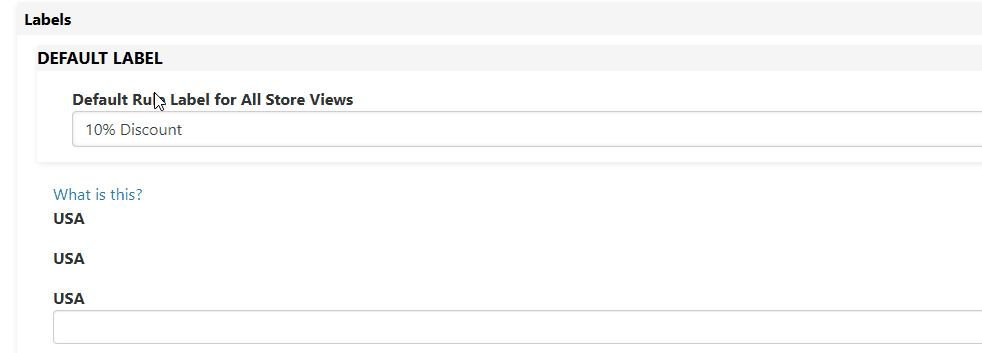
Labels #
In the Labels configuration, you define how the coupon will appear visually to customers when they add it to their cart or during checkout. We recommend using the coupon code as the label so customers can easily recognize it.
For instance, if your coupon code is BRANDNAME10%, you should enter BRANDNAME10% in the label field.